Air-Fryer–Free Potato Chips in the Microwave
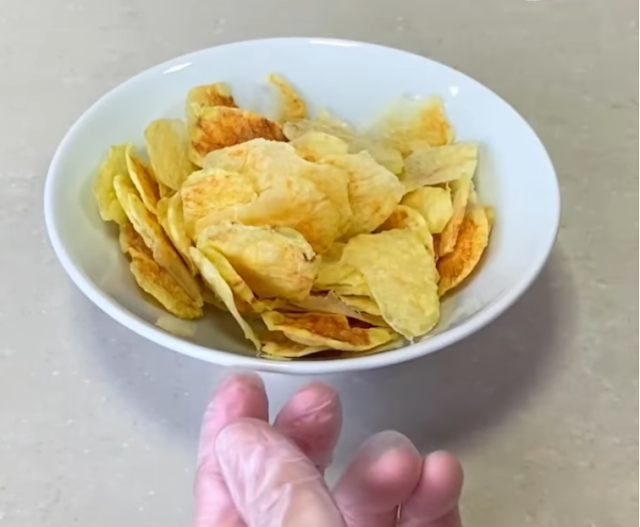
Learn how to make crispy no-fry potato chips in the microwave using just a few ingredients. A quick, healthy, and budget-friendly homemade snack ready in minutes.
Learn how to make crispy no-fry potato chips in the microwave using just a few ingredients. A quick, healthy, and budget-friendly homemade snack ready in minutes.
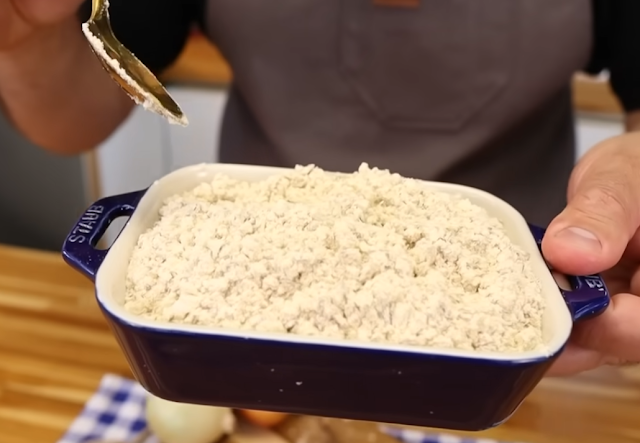
Easy homemade onion soup mix that’s budget-friendly and preservative-free. Yields more than store-bought and is perfect for meats and sauces.
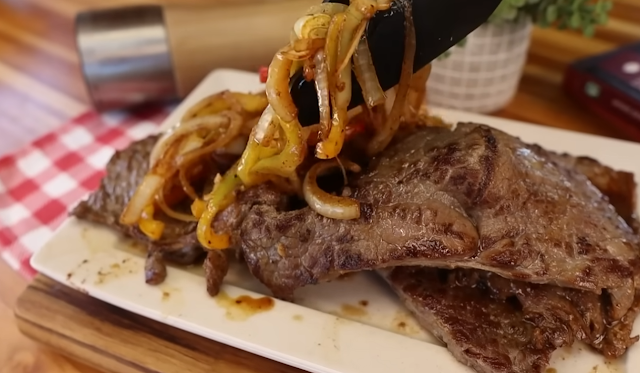
Learn how to make juicy onion steak with bell peppers using simple ingredients and quick techniques for a tender, flavorful meal.
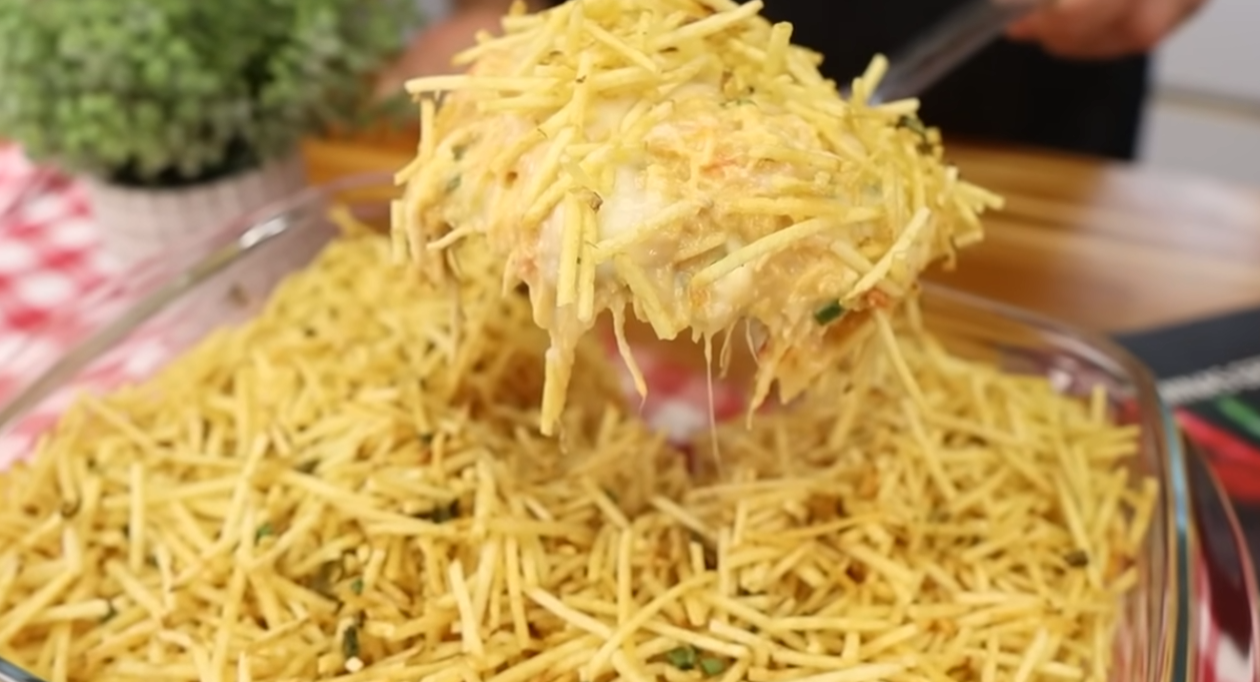
A creamy chicken fricassée recipe made with simple ingredients. Easy, comforting, and perfect for a quick homemade lunch or dinner.